

-
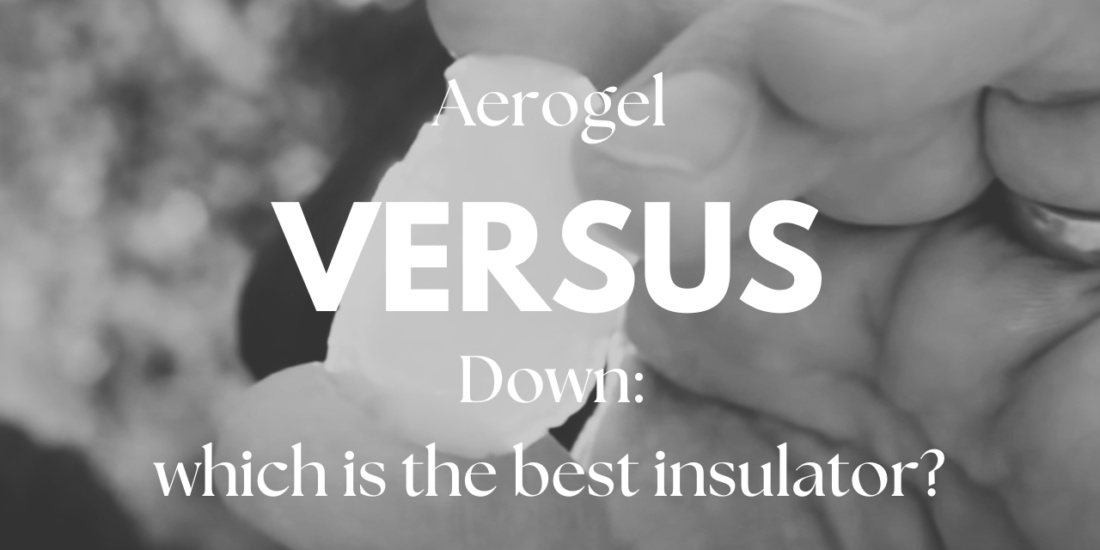
Aerogel vs Down: Is this the Jacket of the Future?
When choosing between jackets, you typically have two options: down, or synthetic. There are pros and cons to both. Down jackets are well-known for being the most lightweight, warm, and highly compressible layers you can buy, but they do have
-
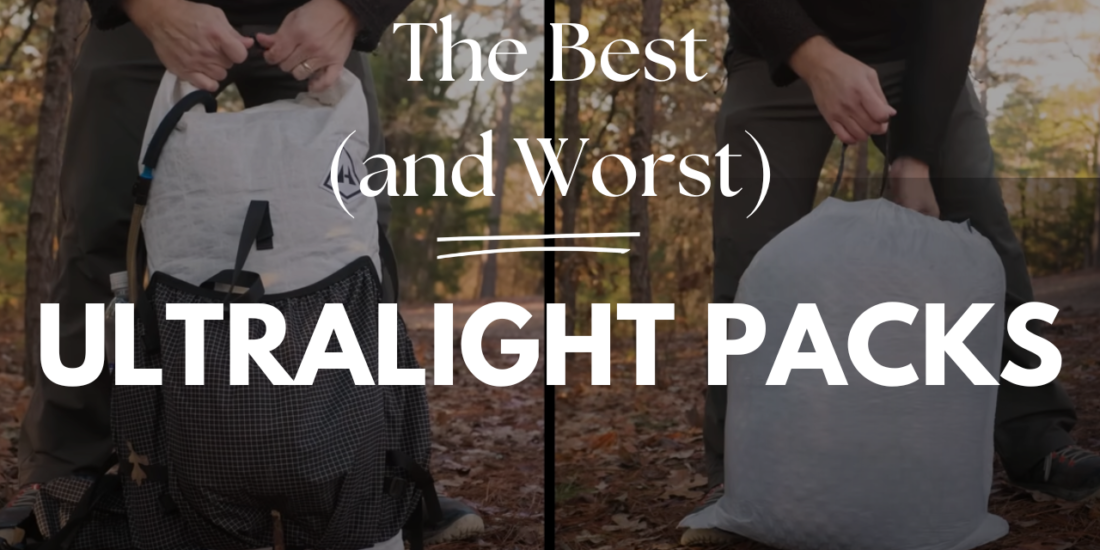
A Complete Review of the Best and Worst Ultralight Packs
Let’s face it: ultralight packs have a pretty bad reputation. Many people have described them as trash back with straps, and often, ultralight packs seem to sacrifice comfort first in order to shave down weight. But, those downsides aren’t always the
-

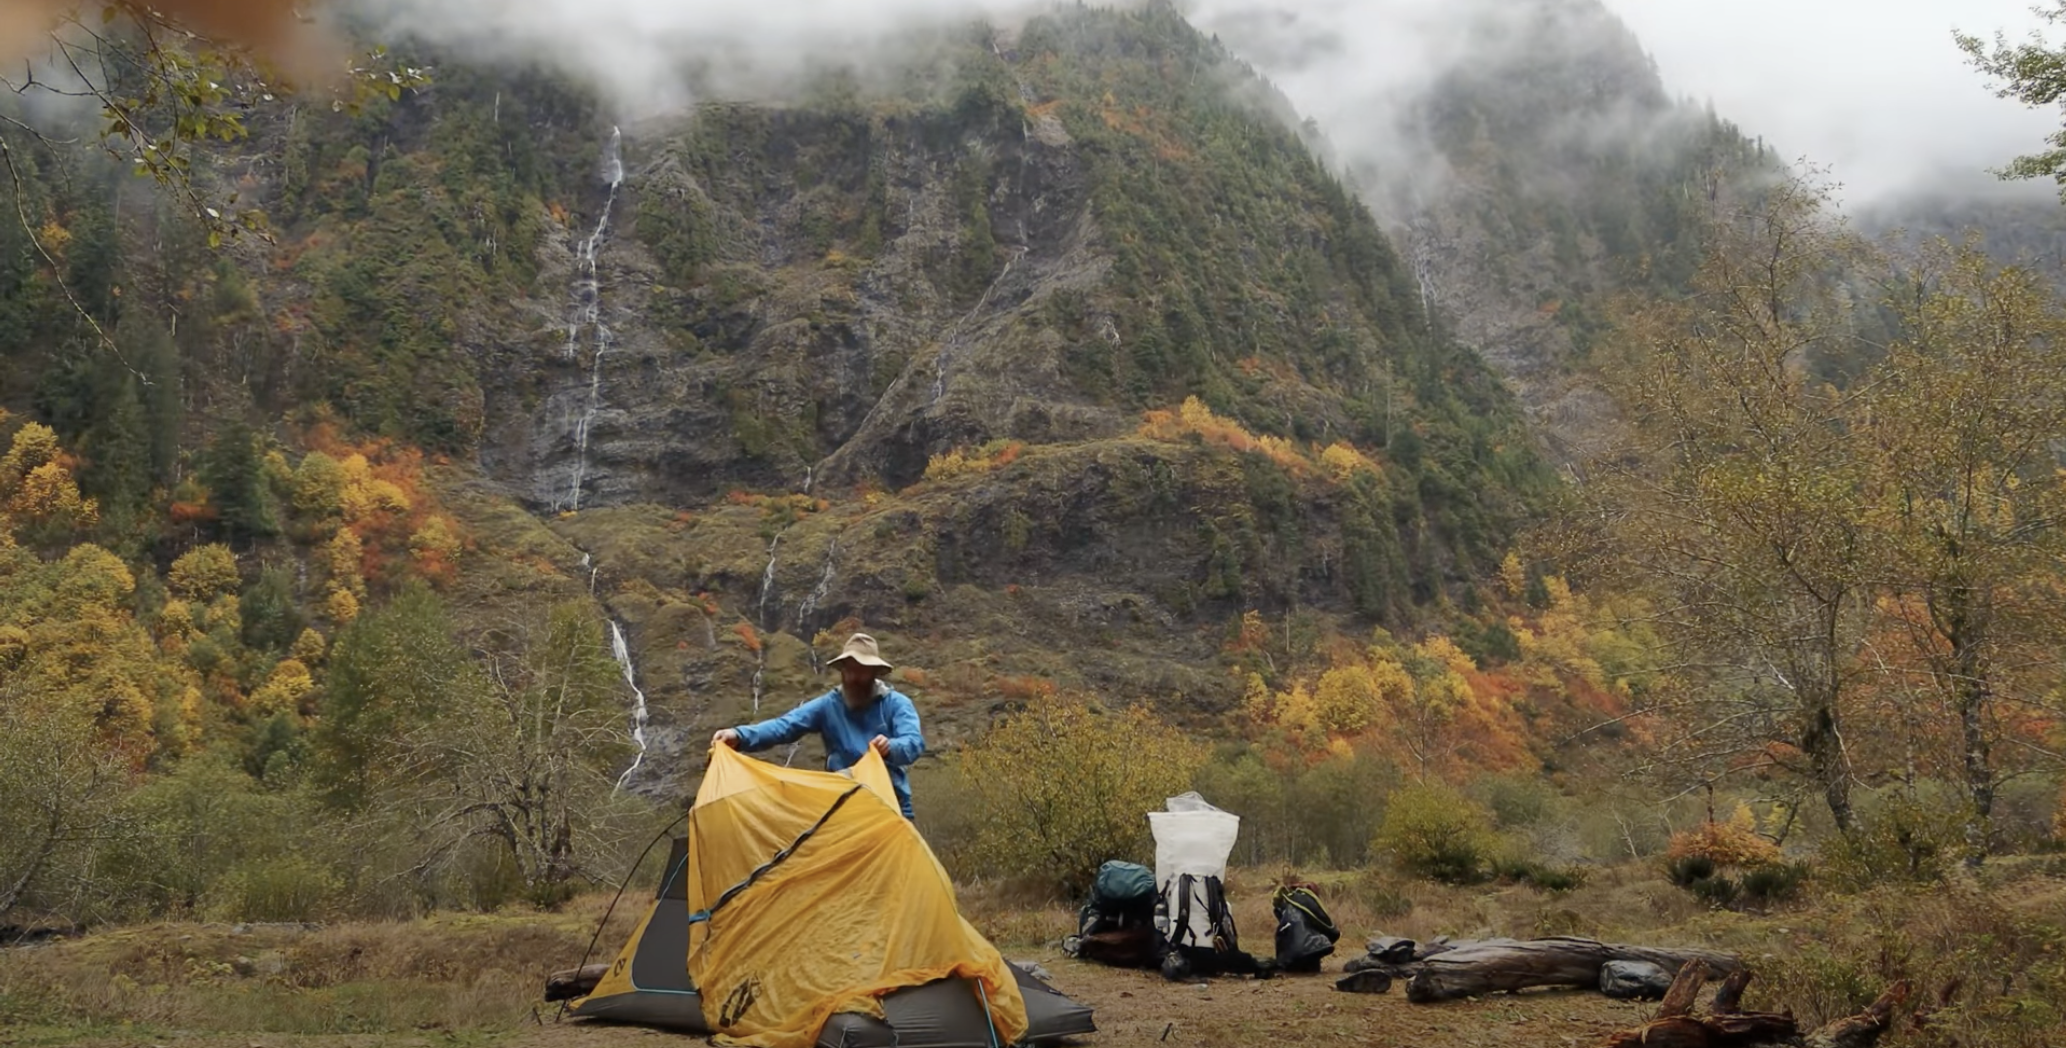
The Best Semi-Freestanding, Hybrid Tents
What’s better–a trekking pole-supported tent, or a freestanding tent? What if the answer might be… neither? In my experience, the best gear out there is often an even mix of the best of both worlds. Freestanding tents can often be heavy, since


TikTok Likes
Views
Youtube Views
Followers
STAY CONNECTED
Sign up for my email list and get blog announcements & information on My Life Outdoors!